Drawing curly hair can be challenging but also very rewarding as you learn to capture its unique texture and volume. The key is to start with simple shapes, like ovals or s-curves, to block in the hair strands. Then use light lines to further define the individual spirals and coils. Build up layers to portray hair’s natural thickness. Add value through shades and highlights that follow the form. Blending and detail work completes the realistic portrayal of curly locks in your drawings. With practice, you can draw beautifully curly hair.
How To Draw Curly Hair On A Girl And Boy
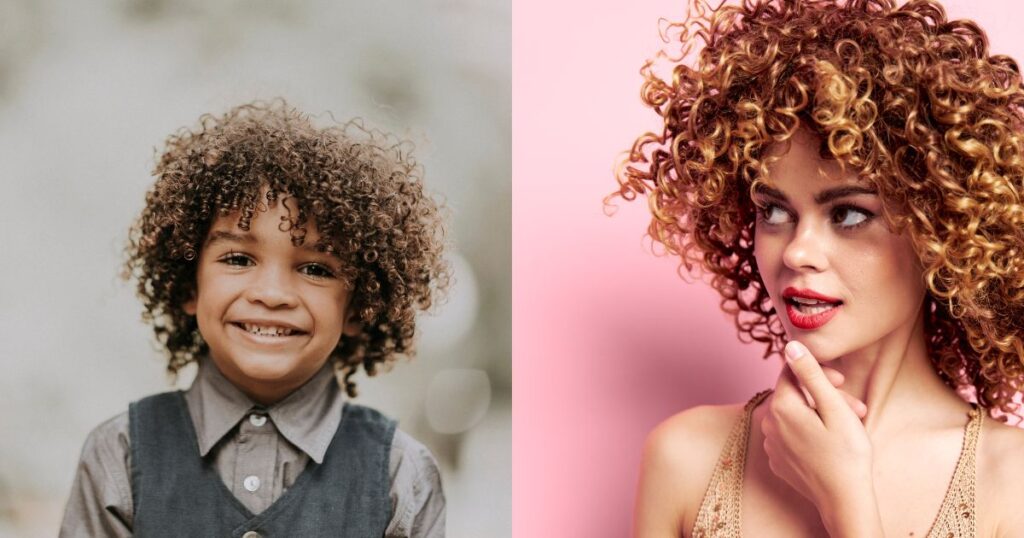
Drawing curly hair on both girls and boys requires understanding the different curl patterns. For girls, focus on drawing hair with tighter curls that form ringlets close to the head. Individual strands spiral tightly and curl inward. For boys, depict hair with looser curls that form more elongated S-shapes. Strands are thicker and curl outward in waves rather than tight coils. For both, start with light guidelines of the hairline and curl shapes before adding definition with individual strands. Blend shapes smoothly and add texture with wispy flyaway hairs. Pay attention to curl direction and fullness for realistic depictions of curly hairstyles on different characters.
Understand Hair Texture
Drawing realistic and captivating curly hair requires a keen understanding of hair texture. To master this skill, delve into tutorials on drawing curly hair realistically. Learn the nuances of curly hair, from individual curls to overall patterns. Acquaint yourself with various curly hair textures, from tight coils to loose waves. This foundation will empower you to accurately represent the diverse beauty of curly hair in your sketches.
Choose Drawing Tools
Selecting the right drawing tools is crucial for capturing the essence of curly hair. In your quest to draw curly hair realistically, explore tutorials that guide you in choosing the best tools. Experiment with different pencils, brushes, and digital pens to achieve varied textures and strokes. Understand how each tool contributes to the intricate details of curly hair, allowing you to create lifelike and expressive drawings that showcase the unique characteristics of each curl.
Add Definition With Lines
Adding definition to curly hair involves mastering the art of using lines effectively. Follow tutorials on curly hair drawing to refine your line work, emphasizing the twists and turns of individual curls. Learn how to create depth and dimension by varying the thickness and direction of your lines. With this skill, you can infuse your drawings with a sense of movement, capturing the dynamic nature of curly hair in a realistic and visually appealing manner.
Build Up Volume
Curly hair is characterized by its voluminous and dynamic nature. In your pursuit of realistic curly hair sketches, focus on building up volume effectively. Explore tutorials that guide you through techniques for rendering the fullness of curls. Understand how to layer your strokes to convey thickness and density, bringing your drawings to life with a three-dimensional quality that showcases the richness of curly hair.
Render Texture and Shine
To achieve realism in drawing curly hair, mastering the rendering of texture and shine is essential. Explore tutorials on curly hair sketching to understand how to depict the unique textures of different curl patterns. Learn techniques for capturing the reflective qualities of hair, adding a subtle sheen to enhance realism. This skill will elevate your drawings, allowing you to convey the tactile and luminous aspects of curly hair with precision.
Apply Highlights and Shadows
The interplay of highlights and shadows is a key element in drawing realistic curly hair. Dive into tutorials that teach you how to effectively apply highlights to accentuate curls and shadows to define depth. Understand the play of light on curly strands, enhancing the overall visual impact of your drawings. Mastering the art of balancing highlights and shadows will bring a sense of realism and dimension to your curly hair sketches.
Start With Basic Shapes
Embark on your journey to draw realistic curly hair by mastering the fundamentals of starting with basic shapes. Explore tutorials that guide you through the initial stages of sketching, focusing on the foundation of curls using simple shapes. Develop an understanding of how basic shapes form the basis for intricate and realistic curly hair drawings. This approach will provide you with a solid framework to build upon as you refine the details of each curl.
Add Finishing Details
The magic lies in the finishing details when drawing realistic curly hair. Explore tutorials that emphasize the importance of refining and adding those final touches to your sketches. Learn techniques for accentuating individual curls, fine-tuning lines, and perfecting the overall composition. Mastering the art of finishing details will elevate your curly hair drawings, ensuring they exude a level of realism and sophistication that captivates viewers.
Incorporate these tips into your artistic repertoire to draw curly hair realistically, whether you’re a beginner seeking guidance or an experienced artist looking to enhance your skills.
FAQ’s
How do you draw simple curly hair?
To draw simple curly hair, start with basic shapes to outline the curls, then add varying line thickness and direction to capture the texture and movement effectively.
How do you draw big curls?
To draw big curls, emphasize the overall shape with larger, flowing strokes, capturing the voluminous and dynamic nature of the curls.
How to draw a boy face with curly hair?
To draw a boy’s face with curly hair, start by sketching the facial features, then focus on capturing the unique curls using varied line thickness and rendering techniques.
Conclusion
Drawing curly hair can seem daunting at first as there are many curves and strands to depict. But, by taking your time and focusing on the individual curl shapes, you can realistically capture cascading locks of hair. Start with light, loose guidelines to map out the curl patterns. Then, add definition by drawing individual strands with soft curves and wispy ends. Blend and smudge lines lightly to portray hair’s flowing texture. With practice, you’ll gain confidence in rendering curls’ depth, volume and movement. Mastering curly hair illustrations opens up portrayals of diverse hairstyles and characters. I hope these tips help you bring more lifelike curls to your artwork.